Although leaky pipe problems may seem minor, in the long run, leaky pipes can cause water waste and other problems. How to fix a leaky pipe includes how to locate the leak, turn off the water, clean the pipe, and apply the correct repair method (sealant and replacement) to fix the leak.
If you don't know how to repair leaky pipes, then that can cause the leak to go hidden and cause further leaks. The process includes how to find leaks, cleaning up the area, repairing, and testing. This framework includes the causes, tools, and repair process to repair leaks.
Understanding Early Warning Signs of Pipe Leakage
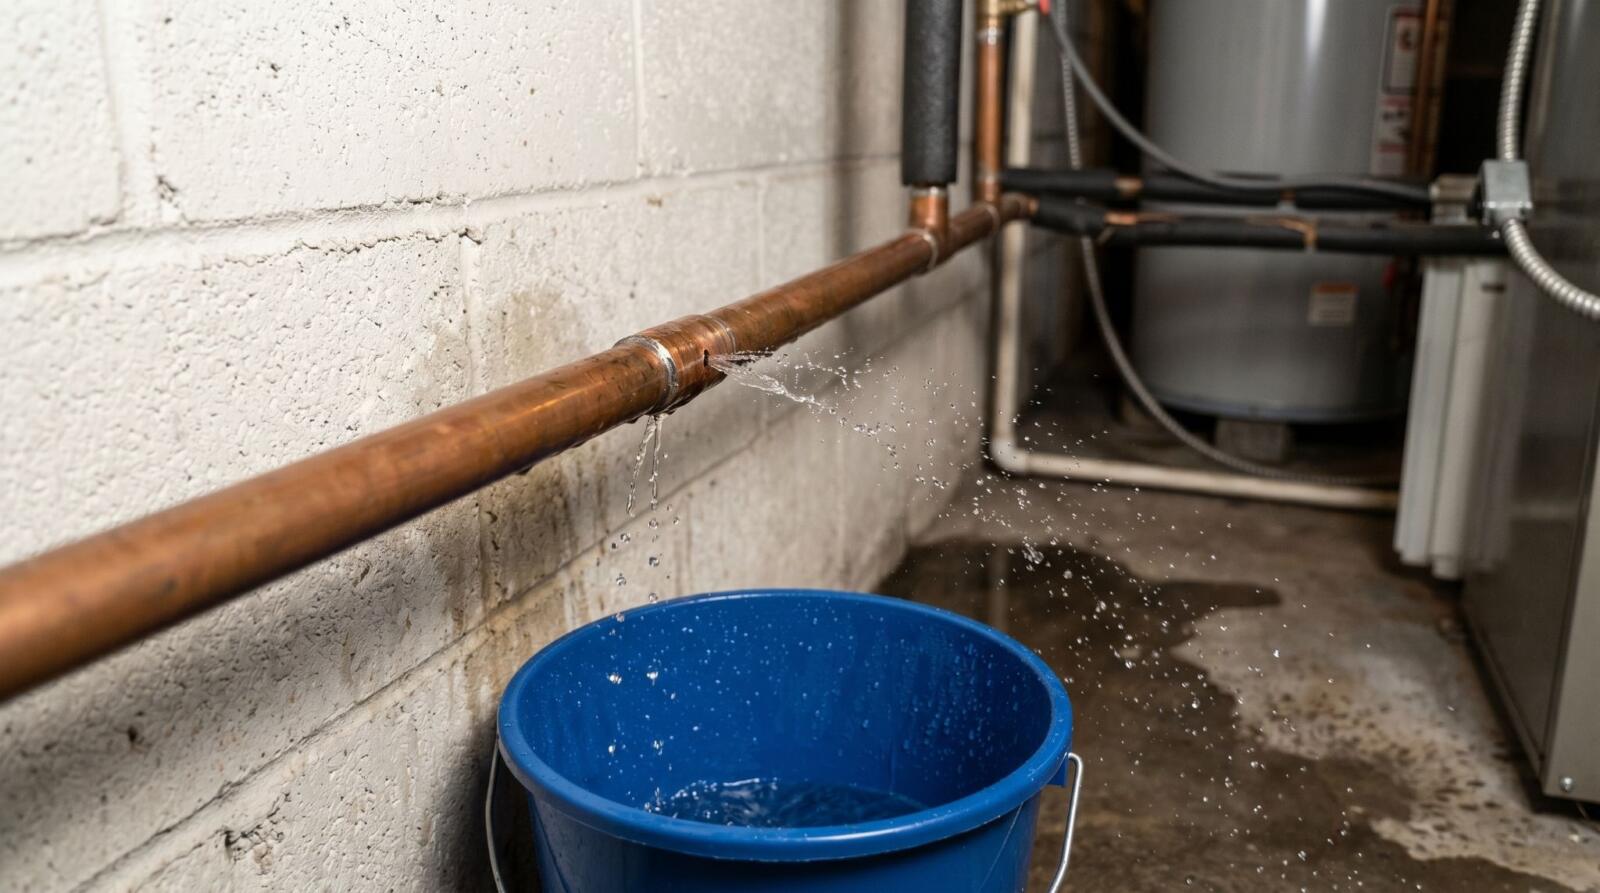
The first line of defence in repairing leaky pipes is to locate the leak. While some wait for the leak to drip, there are clues before this happens.
Common indicators:
- Moisture around pipe joints
- Minimal water damage to the wall and floors
- Drop in water pressure
- Frequently drip, drip, drip or a whistle
For example, if the wall in the bathroom is slightly damp, it could be a leak.
Pipe Repair, Planning, and Measurement Approach
In the case of buildings, construction estimatings is used to estimate, calculate, and analyse the measurement of the building. Likewise, pipes also need to be repaired. The location, length, and intensity of the leak or damage to the pipe are important to repair. This will reduce the waste and rework.
Common Causes of Leaky Pipes
Leaks don't just happen; there are a number of causes.
Corrosion
Metal pipe corrodes with time. This may result in holes and leaks.
High Water Pressure
High water pressure puts stress on the joints and weak areas, causing cracks.
Loose Connections
Failing joints can be due to installation and vibration.
Temperature Changes
The shrinking and expanding of the pipe in hot and cold weather.
External Damage
The drill can go through the pipe, and the impact will crack the pipe
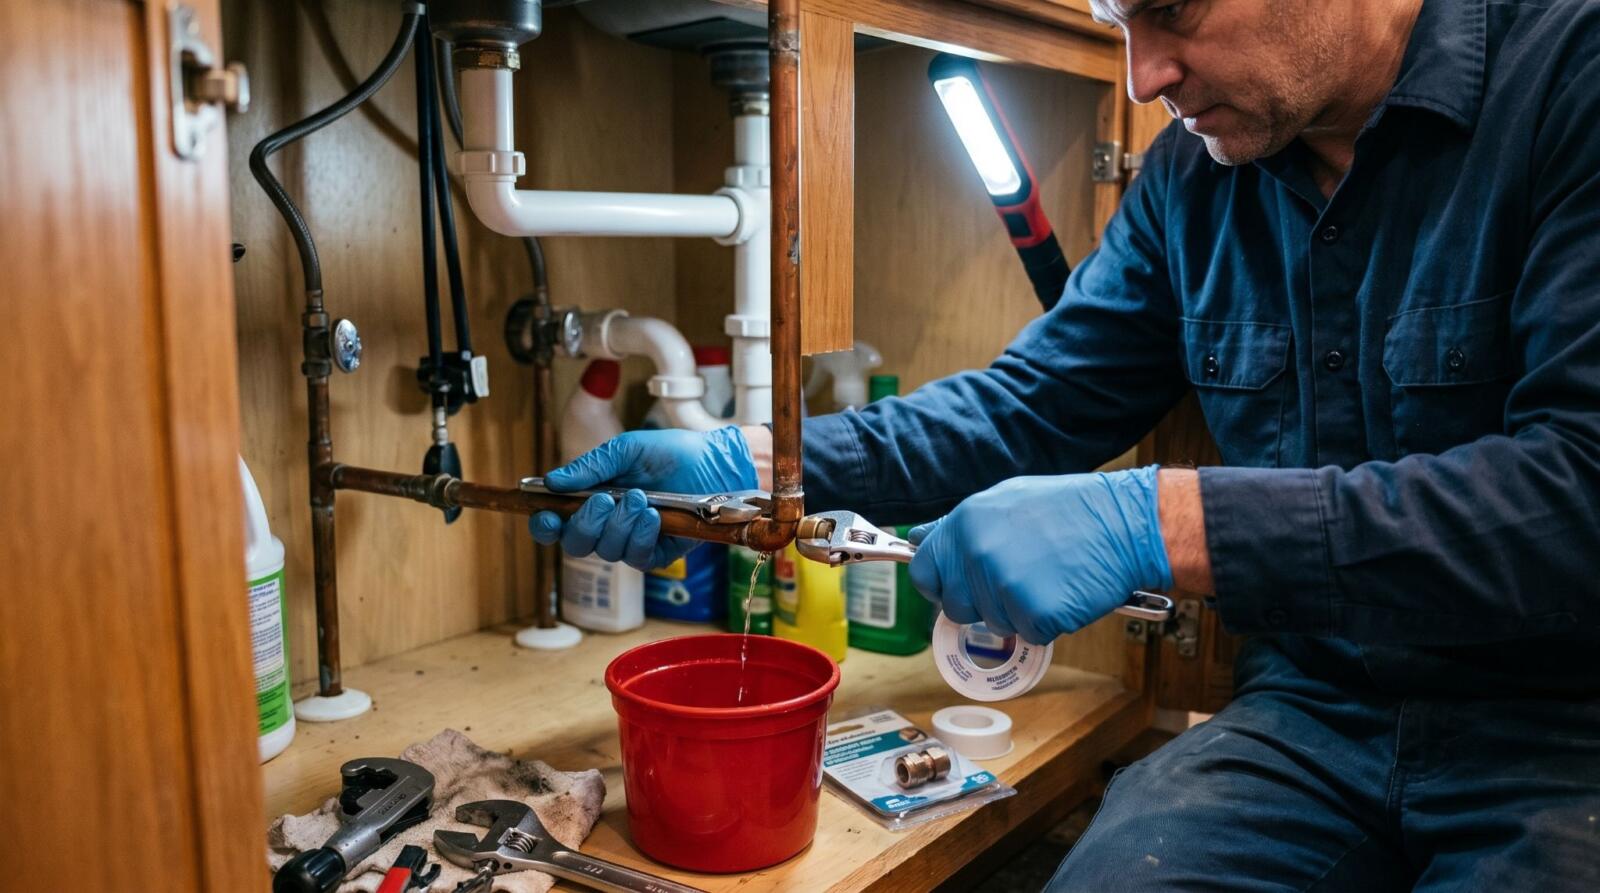
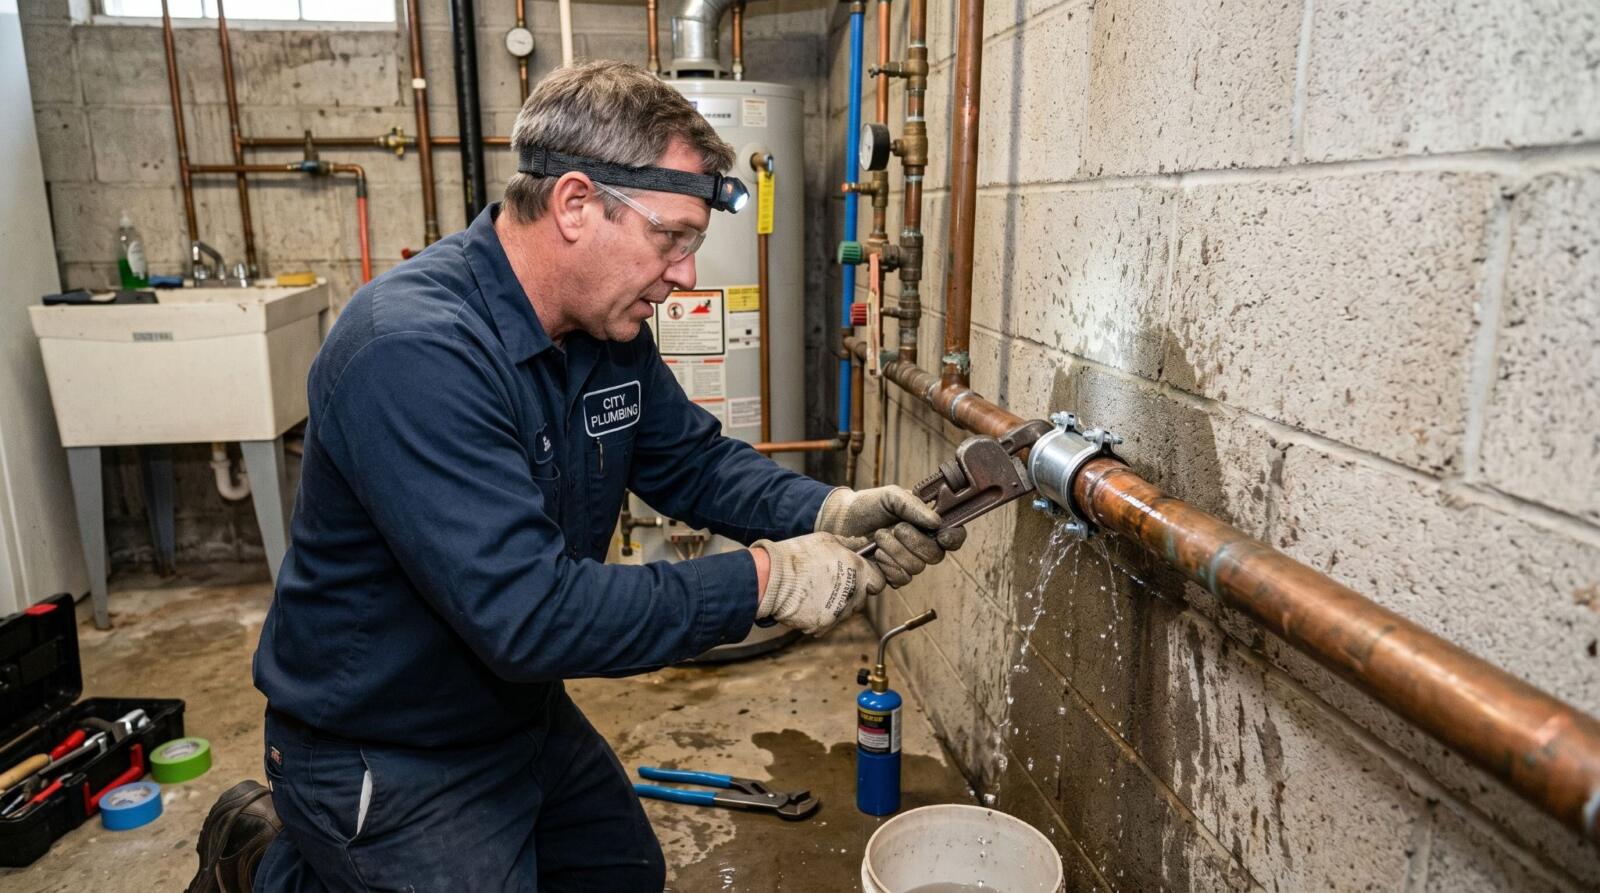
Step-by-Step Process to Fix a Leaky Pipe
This procedure can be done by any plumber, even beginners.
Step 1: Close Water Valve
Make sure that the main water supply is turned off. This will avoid water running.
Step 2: Locate the leak
Completely dry and examine the pipe. This will help when repairing.
Step 3: Clean the Area
Be sure it's clean and dry. This will affect the seal.
Step 4: Repair Leak
Leak repair method depends on the type of leak:
- Tighten the joint
- Seal the crack
- Remove the damaged section
Step 5: Check for Leaks
Turn the water back on and check to see that the leak is repaired.
Planning and Analysis for Leaks
From a technical perspective, piping cost estimation can give an idea of how much material and labour are needed to repair the leak. It includes material take-off, volume take-off, and planning for the repair, which helps justify the repair.
Types of Pipe Leaks and Their Solutions
Leaks can be of various kinds.
Joint Leakage
Can be caused by a loose joint. Can be addressed with the joint tightening or re-sealing.
Hairline Crack
Tightening will fix small cracks, temporarily.
Visible Hole
It's a big leak. It's best to replace the damaged area.
Hidden Leak
It's found on the wall or floor. It's located with moisture or air.
Important Tools and Materials (Explanation)
Using the right tools and materials, the job is done properly.
Basic Handling Tools
- Adjustable spanner → to tighten and untighten the pipe fittings
- Pipe cutter → to remove the damaged part of the pipe
- Measuring tape → used to make precise measurements
Sealing Materials
- Plumber’s tape → to seal joints with threads
- Epoxy compound → to glue up cracks, leaks, and holes
- Pipe clamp → used to temporarily clamp to prevent leaks
Support Items
- Bucket → to collect leaks
- Dry cloth → used to clean and dry the surface
- Sandpaper → to clean and dry the surface
These all aid in the repair.
Temporary vs Permanent Repair: What to Choose?
Temporary Repair
- Useful in emergencies
- Controls leak for a short time
- Not reliable for long-term
Permanent Repair
- Fixes the root cause
- Prevents future leaks
- Maintains pipe strength
For instance, patching is temporary, but pipe replacement is permanent.
Safety Guidelines During Pipe Repair
Don't compromise safety during repair.
- Always turn off the water supply
- Wet surfaces increase slipping risk
- Take care around electricity
- Use gloves when using sharp tools
This helps avoid injury.
Real-Life Scenario: Benefit of Early Detection
A family leaked under their kitchen sink. After a few days, the wood swelled up.
Their leak was caused by a joint being not tight enough. If the joint had been tightened sooner, it would not have been damaged. This is an example of early intervention.
Long-Term Maintenance Strategies
Regular maintenance is needed.
- Check pipes regularly
- Monitor water pressure
- Replace old pipes on time
- Don't ignore leaks
Prevention limits future problems.
Common Mistakes That Cause Repair Failure
- Not locating the exact leak
- Using sealant on a wet roof
- Using the wrong repair method
- Using a temporary fix as a permanent
These will weaken and shorten the repair.
Conclusion
It's essential to know how to repair leaky pipes to prevent water wastage and damage. This framework provided basic information on how to detect, diagnose, repair, and use tools. It also gave an insight into different leaks and maintenance advice to guide.
By detecting and treating problems early, you'll avoid more serious problems. So, are you monitoring to prevent as much as possible?
Frequently Asked Questions
How do I detect a leak in a pipe?
You can check the water meter. If it is running and you have turned off the water, then you may leak. You can check for the watermarks.
Do all cracks need to be repaired?
The size and the location. The small cracks can be repaired, but the large cracks can't.
What's wrong with fixing a pipe?
This may be because the cause of the leak (such as pressure and corrosion) has not been resolved. This is because simply patching the crack won't fix the problem.